Image | Title | Ratings | Link |
 | Orange Chocolate Mousse | ||
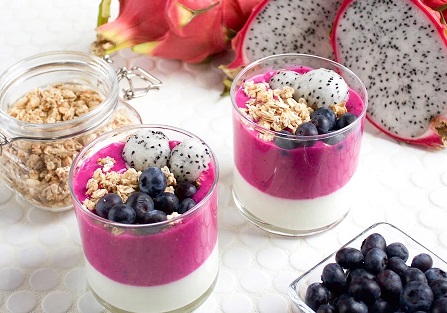 | Dragon Fruit Parfait |
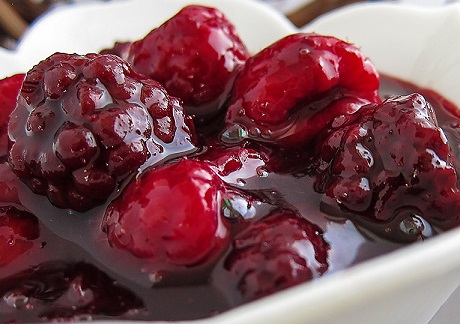
Raspberry Jam
Raspberry jam is a classic, vibrant, and tangy-sweet preserve that’s easy to make at home. Whether spread on toast, swirled into yogurt, or used in baking, this jam delivers the intense flavor of fresh raspberries.
Making your own raspberry jam gives you the freedom to control the sweetness and texture while avoiding preservatives found in store-bought versions.
Ingredients:
- 2 pounds (about 900g) fresh raspberries (or frozen, if not in season)
- 4 cups (800g) granulated sugar
- 2 tablespoons fresh lemon juice
- 1 teaspoon lemon zest (optional, for added flavor)
- 1 tablespoon unsalted butter (optional, to reduce foam)
Equipment:
- Large pot or Dutch oven
- Potato masher or wooden spoon
- Sterilized canning jars with lids
- Canning funnel (optional)
- Candy thermometer (optional, for precise temperature control)
- Ladle
- Clean cloths for wiping the jar rims
Step 1: Prepare the Raspberries
If you’re using fresh raspberries, rinse them gently under cold water and let them drain in a colander. Be sure to remove any leaves or debris. If using frozen raspberries, thaw them completely and drain any excess water.
Place the raspberries in a large pot or Dutch oven. Using a potato masher or a wooden spoon, lightly crush the berries to release their juices. You don’t need to completely puree them—leave some chunks for texture, but breaking them down will help them cook evenly.
Step 2: Add Sugar and Lemon Juice
Once the raspberries are mashed, add the granulated sugar to the pot. Stir the sugar into the fruit until it starts to dissolve. For balance and a brighter flavor, add the fresh lemon juice. The lemon juice not only enhances the flavor but also helps the jam set due to its natural pectin content.
For an added burst of citrus, you can also add 1 teaspoon of finely grated lemon zest, though this is optional.
Step 3: Cook the Jam
Place the pot over medium heat and bring the mixture to a boil, stirring frequently to ensure the sugar dissolves completely and doesn’t burn. As the jam starts to cook, the raspberries will release more juice, creating a beautiful, ruby-red liquid.
Once the mixture reaches a boil, reduce the heat to medium-low and allow it to simmer for about 20–30 minutes, stirring occasionally. As the jam cooks, it will thicken. Be sure to stir frequently to prevent the jam from sticking to the bottom of the pot.
If foam begins to form on the surface of the jam, skim it off with a spoon. To minimize foam, you can also add a tablespoon of unsalted butter. This step is optional, but it will help the jam achieve a clearer appearance.
Step 4: Test for Doneness
Image | Title | Ratings | Link |
 | Grilled Pineapple Skewers | ||
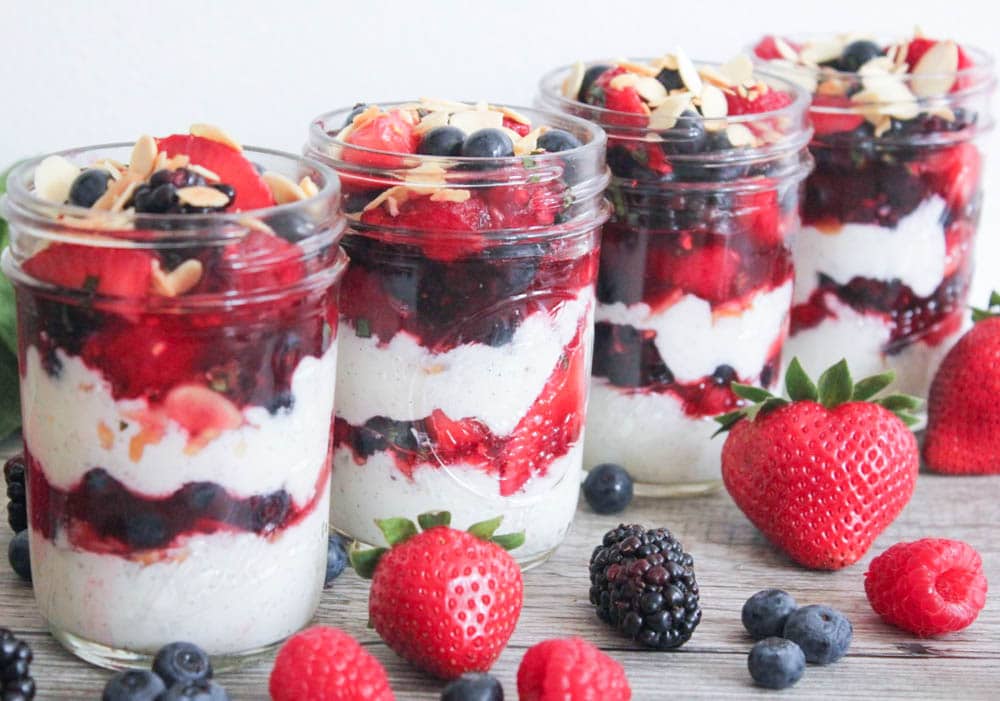 | Berry Parfait |
There are two common methods to check if your jam has reached the desired consistency: the candy thermometer method and the plate test.
Candy Thermometer: The jam is ready when it reaches 220°F (105°C). This is the setting point for jam, ensuring it will thicken properly when cooled.
Plate Test: If you don’t have a thermometer, place a small plate in the freezer before you start cooking the jam. When you think the jam is ready, spoon a small amount onto the chilled plate and let it sit for a minute. If it wrinkles when you push it with your finger, the jam is done. If it remains too liquid, continue cooking for a few more minutes and repeat the test.
Step 5: Sterilize and Fill Jars
While the jam is cooking, sterilize your canning jars to ensure the jam is safely preserved. To do this, wash the jars and lids in hot, soapy water, then boil them in water for 10 minutes. Let them air-dry on a clean towel.
Once the jam has reached the desired thickness, remove it from the heat and let it cool slightly. Using a ladle and a funnel (if you have one), carefully pour the hot jam into the sterilized jars, leaving about ¼ inch of space at the top. Wipe the rims of the jars with a clean cloth to remove any spilled jam, ensuring a tight seal.
Step 6: Seal the Jars
To preserve the jam, process the filled jars in a water bath. Place the jars in a large pot of boiling water, ensuring they are covered by at least 1 inch of water. Boil for 10 minutes to create a vacuum seal.
After the jars have been processed, carefully remove them from the water and allow them to cool on a towel. As the jars cool, you’ll hear the lids pop, indicating a successful seal. If a jar doesn’t seal properly, store it in the fridge and use it within a few weeks.
Step 7: Store and Enjoy
Once sealed, raspberry jam can be stored in a cool, dark place for up to a year. After opening, keep the jam in the refrigerator and consume it within a few weeks. The deep, tangy flavor of homemade raspberry jam makes it perfect for spreading on toast, pairing with scones, or using as a filling for desserts.
Tips for Perfect Raspberry Jam:
Seedless Jam: If you prefer a smoother jam, strain out the seeds before adding the sugar. Use a fine mesh sieve or cheesecloth to press out the juice, leaving the seeds behind.
Sugar Adjustments: While the sugar is necessary for preserving the jam, you can reduce it slightly if you prefer a less sweet version. However, this may affect the jam’s shelf life.
This simple raspberry jam recipe allows you to enjoy the taste of summer all year round!
Thanks for visiting Fruits Recipes
Image | Title | Ratings | Link |
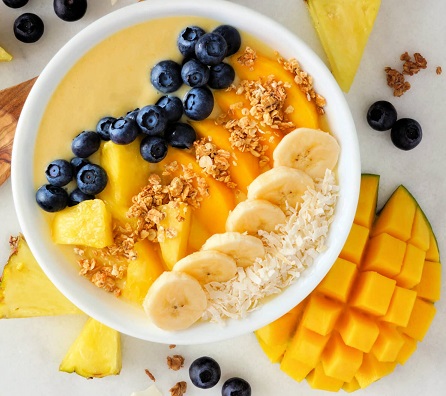 | Mango Smoothie Bowl | ||
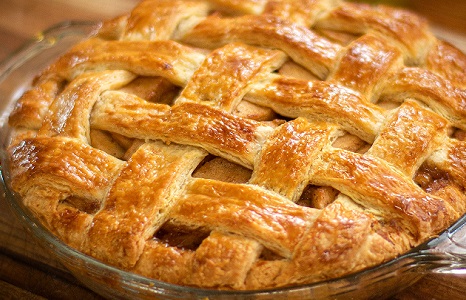 | Apple Pie | ||
 | Chicken with Lemon and Olives | ||
 | Strawberry Banana Smoothie |