Image | Title | Ratings | Link |
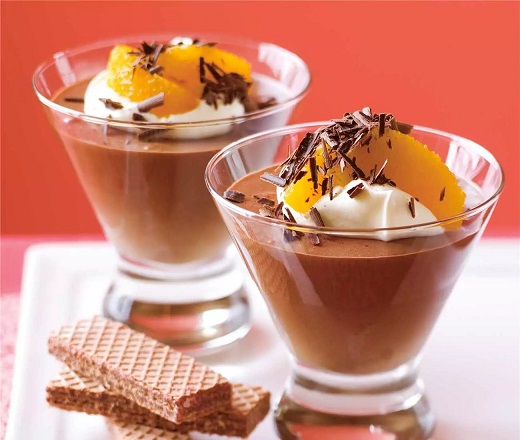 | Orange Chocolate Mousse | 5/5 | |
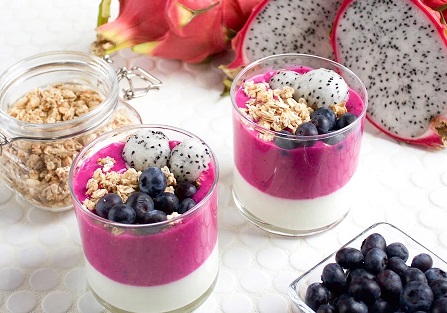 | Dragon Fruit Parfait | 5/5 |
Grape Jelly
Grape jelly is a classic and delightful preserve that captures the sweet, rich flavor of grapes in a smooth, spreadable form. It’s perfect for spreading on toast, adding to peanut butter sandwiches, or using in various recipes.
Making grape jelly at home is straightforward and rewarding, resulting in a vibrant, flavorful jelly that surpasses store-bought options.
Ingredients:
- 4 cups (1 liter) grape juice (preferably 100% pure grape juice, not from concentrate)
- 1/4 cup (60ml) fresh lemon juice
- 1 package (1.75 oz or 49g) fruit pectin (such as Sure-Jell)
- 5 cups (1 kg) granulated sugar
- 1/4 teaspoon salt (optional)
Equipment:
- Large pot or Dutch oven
- Wooden spoon
- Canning jars with lids
- Sterilized jars and lids
- Ladle
- Clean cloth for wiping jar rims
- Canning funnel (optional)
- Canning tongs
- Candy thermometer (optional, for precision)
Step 1: Prepare the Jars
Before starting on the jelly, sterilize your canning jars and lids to prevent spoilage. Wash the jars and lids in hot, soapy water, then boil them in a large pot of water for 10 minutes. Allow them to air dry on a clean towel.
Step 2: Prepare the Grape Juice Mixture
In a large pot or Dutch oven, pour in the grape juice and lemon juice. The lemon juice helps to balance the sweetness of the grape juice and provides the necessary acidity for proper gel formation. Stir the mixture to combine.
Step 3: Add the Pectin
Sprinkle the fruit pectin over the grape juice mixture. Stir well to ensure that the pectin is evenly distributed and dissolved. Place the pot over medium-high heat and bring the mixture to a full rolling boil, stirring constantly. A full rolling boil is one that cannot be stirred down.
Step 4: Add the Sugar
Once the mixture reaches a rolling boil, quickly add the granulated sugar all at once. Stir continuously to dissolve the sugar completely. Return the mixture to a rolling boil and cook for exactly 1 minute. The boiling should be vigorous and consistent.
If using a candy thermometer, ensure that the mixture reaches 220°F (105°C). This is the temperature at which the jelly will set properly.
Image | Title | Ratings | Link |
 | Grilled Pineapple Skewers | 5/5 | |
 | Berry Parfait | 5/5 |
Step 5: Test for Doneness
To check if the jelly has set, use the plate test: place a small plate in the freezer before you start cooking. Spoon a small amount of the hot grape jelly onto the chilled plate and let it cool for a minute. Run your finger through the jelly; if it wrinkles and holds its shape, it’s done. If not, boil for an additional minute and test again.
Step 6: Fill the Jars
Once the jelly has reached the desired consistency, remove the pot from the heat. Use a ladle and canning funnel to carefully pour the hot jelly into the sterilized jars, leaving about 1/4 inch of space at the top. Wipe the rims of the jars with a clean cloth to remove any residue or spilled jelly that might prevent a proper seal.
Step 7: Seal and Process the Jars
Place the lids on the filled jars and screw on the bands until they are fingertip-tight. Process the jars in a boiling water bath for 5 minutes to ensure a good seal. The water should cover the jars by at least 1 inch.
After processing, carefully remove the jars using canning tongs and place them on a clean towel to cool completely. As they cool, you should hear the lids pop, indicating that they have sealed properly.
Step 8: Store and Enjoy
Once the jars are completely cool, check the seals by pressing the center of each lid. If it doesn’t pop back, the jar has sealed properly. Store the sealed jars in a cool, dark place. Homemade grape jelly can be stored for up to a year. Once opened, refrigerate the jelly and use it within a few weeks.
Serving Suggestions
Grape jelly is perfect for spreading on toast, using in sandwiches, or even incorporating into glazes for meats. Enjoy the sweet and fruity goodness of homemade grape jelly!
This recipe delivers a beautifully smooth and sweet grape jelly that will delight your taste buds and make your homemade preserves collection shine.
Thanks for visiting Fruits Recipes
Image | Title | Ratings | Link |
 | Mango Smoothie Bowl | 5/5 | |
 | Apple Pie | 5/5 | |
 | Chicken with Lemon and Olives | 5/5 | |
 | Strawberry Banana Smoothie | 5/5 |


