Image | Title | Ratings | Link |
 | Orange Chocolate Mousse | ||
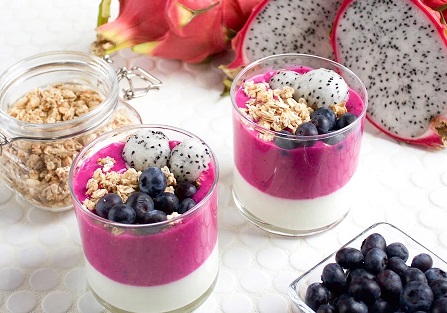 | Dragon Fruit Parfait |
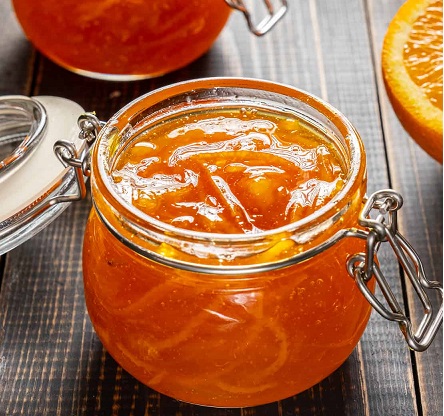
Blackberry Preserves
Blackberry preserves are a delightful way to capture the vibrant flavor of fresh blackberries. They’re perfect for spreading on toast, pairing with cheese, or using in various recipes.
Making your own blackberry preserves allows you to enjoy the taste of summer berries all year round.
Ingredients:
- 4 cups (600g) fresh blackberries
- 2 cups (400g) granulated sugar
- 1/4 cup (60ml) freshly squeezed lemon juice
- 1/2 teaspoon lemon zest (optional, for added flavor)
- 1/2 teaspoon ground cinnamon (optional, for a warm spice note)
- 1/4 teaspoon salt
- 1 package (1.75 oz or 49g) fruit pectin (optional, for a firmer set)
Equipment:
- Large pot or Dutch oven
- Potato masher
- Wooden spoon
- Sterilized jars with lids for storage
- Ladle
- Canning funnel (optional)
- Clean cloth for wiping jar rims
- Canning tongs
- Small plate (for testing doneness)
Step 1: Prepare the Blackberries
Start by washing the blackberries thoroughly to remove any dirt or debris. Gently pat them dry with a clean towel. Place the blackberries in a large bowl and crush them lightly with a potato masher to release their juices. You can crush them to your preferred consistency, whether you like a chunky preserve or a smoother texture.
Step 2: Prepare the Pot
Transfer the crushed blackberries to a large pot or Dutch oven. Add the granulated sugar, lemon juice, and optional lemon zest and ground cinnamon. Stir the mixture to combine. The lemon juice adds acidity to balance the sweetness and aids in the gel formation, while the optional spices can enhance the flavor profile.
Step 3: Cook the Mixture
Place the pot over medium-high heat and bring the mixture to a boil, stirring frequently. Once it reaches a boil, reduce the heat to medium and let it simmer for about 10–15 minutes, stirring occasionally. If using fruit pectin, follow the package instructions for when to add it. Typically, you’ll stir in the pectin after the mixture has started to boil and before adding the sugar.
Step 4: Check for Doneness
Image | Title | Ratings | Link |
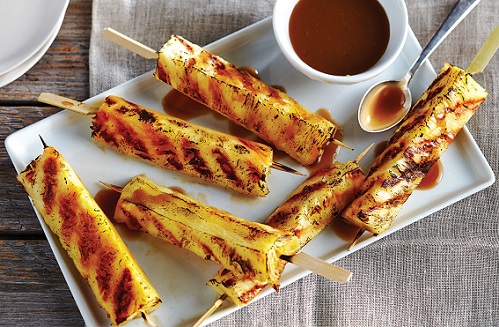 | Grilled Pineapple Skewers | ||
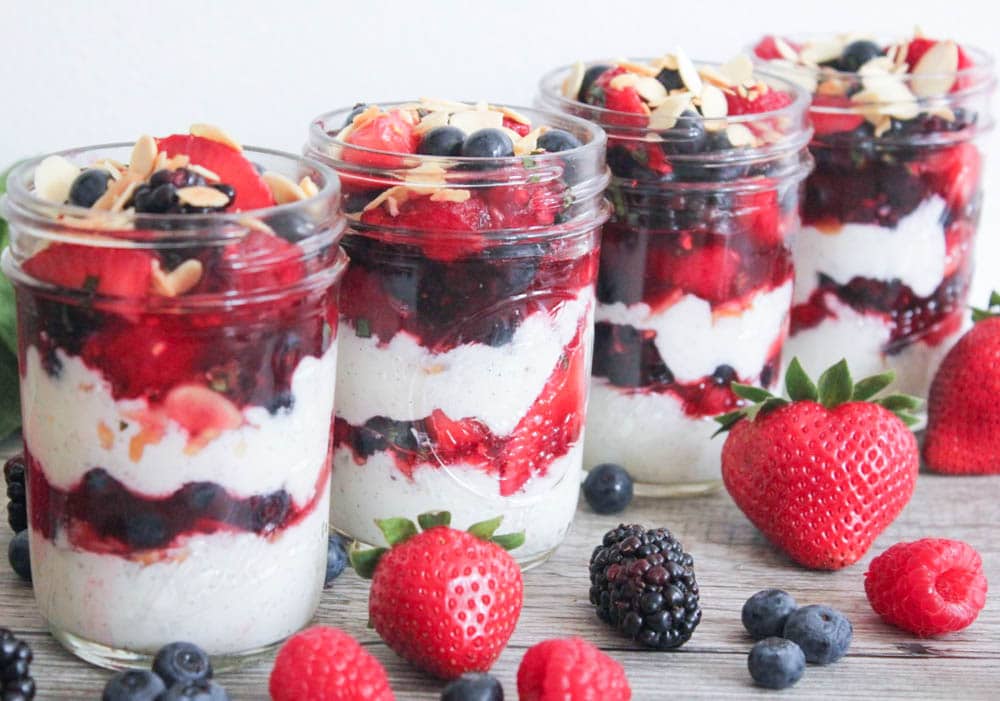 | Berry Parfait |
To check if your preserves are set, perform the plate test: place a small plate in the freezer before starting. Spoon a small amount of the hot mixture onto the chilled plate and let it sit for a minute. Run your finger through the mixture; if it wrinkles and holds its shape, it’s ready. If it’s still too runny, continue boiling for a few more minutes and test again.
Step 5: Sterilize and Fill Jars
While the mixture is cooking, sterilize your jars and lids by boiling them in water for 10 minutes. Once the preserves are done, carefully ladle the hot mixture into the sterilized jars, leaving about 1/4 inch of space at the top. Wipe the rims of the jars with a clean cloth to remove any residue that could prevent a proper seal.
Step 6: Seal and Process the Jars
Place the lids on the filled jars and screw on the bands until they are fingertip-tight. Process the jars in a boiling water bath for 5–10 minutes to ensure a good seal. The water should cover the jars by at least 1 inch.
After processing, use canning tongs to carefully remove the jars and place them on a clean towel to cool completely. As the jars cool, you should hear the lids pop, which indicates that they have sealed properly.
Step 7: Store and Enjoy
Once the jars are completely cool, check the seals by pressing the center of each lid. If it doesn’t pop back, the jar has sealed properly. Store the sealed jars in a cool, dark place. Homemade blackberry preserves can be stored for up to a year. After opening, keep the preserves refrigerated and use within a few weeks.
Serving Suggestions
Blackberry preserves are versatile and can be used in various ways. Spread them on toast, mix them into yogurt or oatmeal, or use them as a filling for pastries. They also make a delicious topping for ice cream or a glaze for roasted meats.
Enjoy the rich, fruity taste of homemade blackberry preserves and savor the essence of summer with each bite!
Thanks for visiting Fruits Recipes
Image | Title | Ratings | Link |
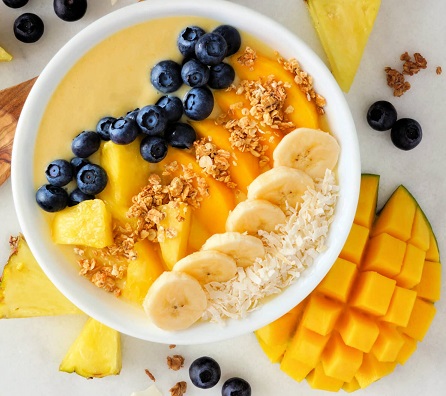 | Mango Smoothie Bowl | ||
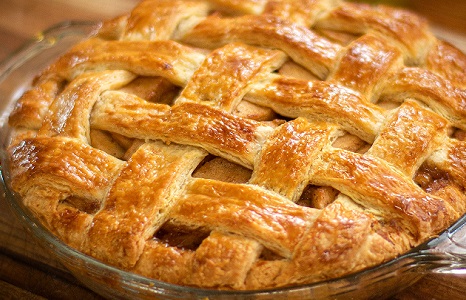 | Apple Pie | ||
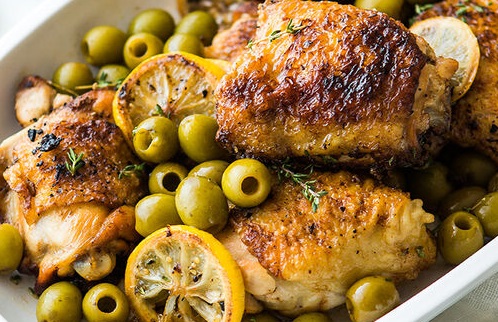 | Chicken with Lemon and Olives | ||
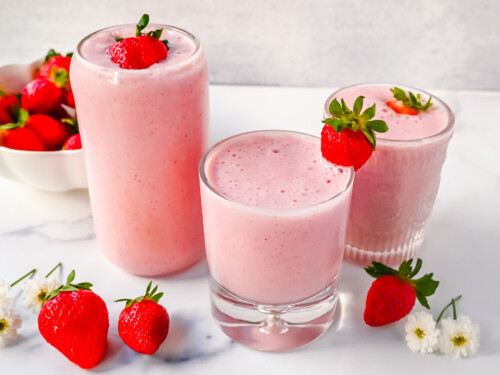 | Strawberry Banana Smoothie |