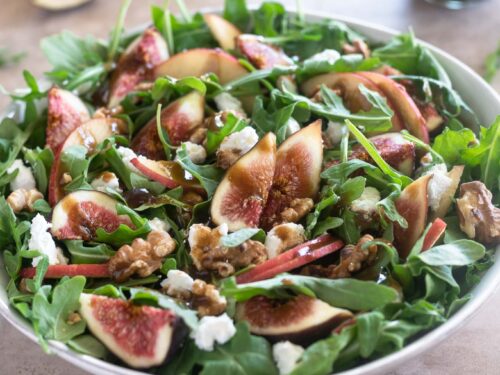
Image | Title | Ratings | Link |
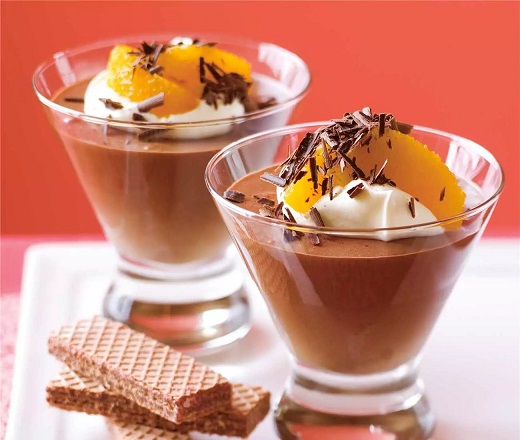 | Orange Chocolate Mousse | 5/5 | |
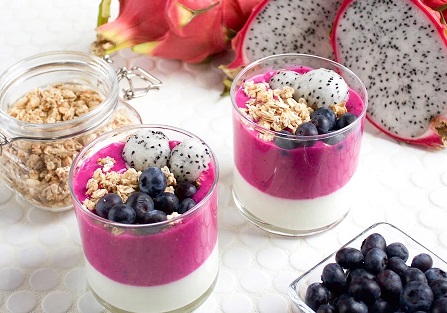 | Dragon Fruit Parfait | 5/5 |
Peach Preserves
Peach preserves capture the essence of summer in a jar, delivering the sweet, juicy flavor of fresh peaches with a lovely texture that’s thicker and chunkier than jam.
Unlike jam, which is smooth and spreadable, preserves contain larger pieces of fruit, giving it a rustic, homemade feel.
With just a few ingredients and some basic canning techniques, you can enjoy homemade peach preserves year-round.
Ingredients:
- 4 pounds (1.8 kg) ripe peaches
- 4 cups (800g) granulated sugar
- 2 tablespoons fresh lemon juice
- 1 teaspoon lemon zest (optional, for added flavor)
- 1 tablespoon unsalted butter (optional, to reduce foam)
- 1 vanilla bean or 1 teaspoon vanilla extract (optional, for added flavor)
Equipment:
- Large pot or Dutch oven
- Paring knife
- Large bowl
- Potato masher or wooden spoon
- Sterilized canning jars with lids
- Canning funnel (optional)
- Candy thermometer (optional)
- Ladle
- Clean cloths for wiping the jar rims
Step 1: Prepare the Peaches
Start by selecting ripe, juicy peaches for your preserves. Overripe or underripe peaches can affect the flavor and texture of your preserves, so choose peaches that are firm but give slightly when pressed.
To peel the peaches easily, bring a large pot of water to a boil and prepare an ice bath (a large bowl filled with ice and cold water). Score the bottom of each peach with an “X” using a paring knife. Drop the peaches into the boiling water for about 30 seconds, then immediately transfer them to the ice bath. The skins should easily slip off. Once peeled, cut the peaches in half, remove the pits, and slice the peaches into chunks or wedges, depending on how chunky you’d like your preserves to be.
Step 2: Macerate the Peaches
Place the sliced peaches in a large bowl, and add the granulated sugar. Toss the peaches and sugar together until the fruit is evenly coated. Let the peaches sit for 1–2 hours, or overnight if possible. This process, known as maceration, allows the sugar to draw out the juices from the peaches, creating a sweet syrup that will help thicken the preserves when cooked.
Step 3: Cook the Preserves
After macerating, transfer the peaches and all their juices to a large pot or Dutch oven. Add the fresh lemon juice, which helps balance the sweetness and prevents the peaches from browning during cooking. For a burst of citrus flavor, you can also add 1 teaspoon of lemon zest, though this is optional.
Bring the mixture to a gentle boil over medium heat, stirring frequently to dissolve the sugar. Reduce the heat to medium-low and simmer for 30–40 minutes, stirring occasionally to prevent the fruit from sticking to the bottom of the pot. As the preserves cook, the liquid will reduce and thicken, and the peach slices will soften.
If you’d like to reduce foaming, add 1 tablespoon of unsalted butter to the pot. This won’t affect the taste but will help create a clearer preserve.
Step 4: Check for Doneness
To ensure your peach preserves reach the perfect consistency, you can use either the candy thermometer method or the plate test.
Image | Title | Ratings | Link |
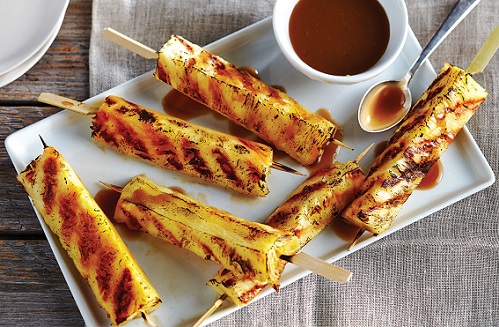 | Grilled Pineapple Skewers | 5/5 | |
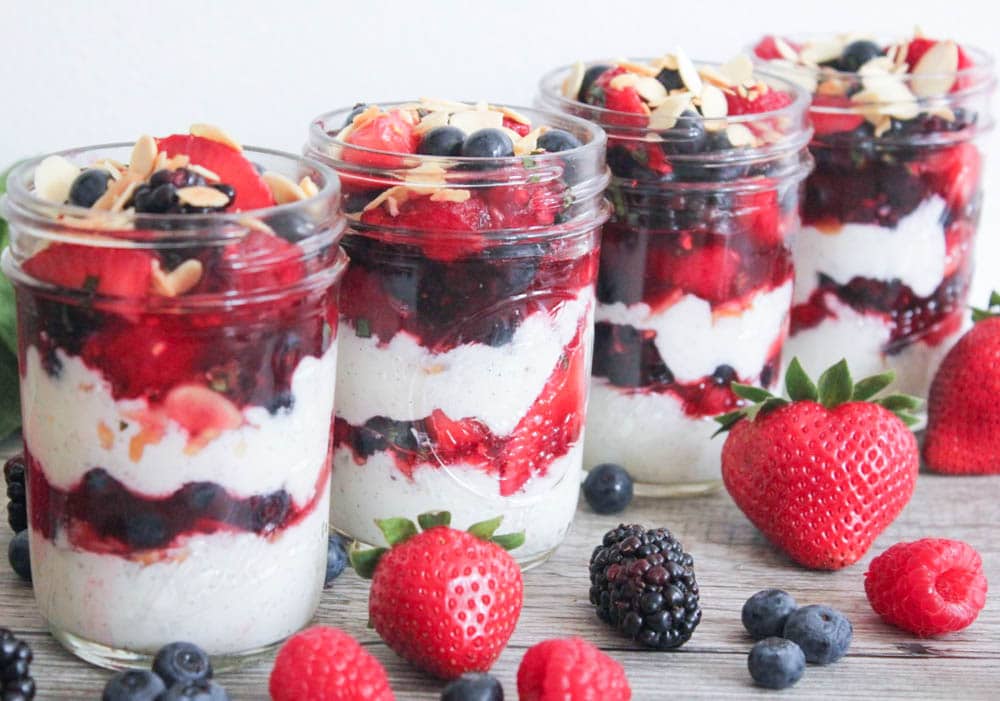 | Berry Parfait | 5/5 |
Candy Thermometer: The preserves are ready when they reach 220°F (105°C), which ensures they will set properly when cooled.
Plate Test: If you don’t have a thermometer, place a small plate in the freezer before you start cooking. When you think the preserves are ready, spoon a small amount onto the chilled plate. Let it cool for a minute, then push it gently with your finger. If it wrinkles and holds its shape, the preserves are done. If it’s still runny, cook it for a few more minutes and test again.
Step 5: Add Vanilla (Optional)
For a richer, more complex flavor, you can add a vanilla bean or a teaspoon of vanilla extract to the preserves during the final 10 minutes of cooking. If using a vanilla bean, split the bean lengthwise, scrape out the seeds, and stir them into the mixture. Remove the bean pod before canning. Vanilla adds a warm, aromatic depth to the preserves.
Step 6: Sterilize and Fill Jars
While the preserves are cooking, sterilize your canning jars. Wash the jars and lids in hot, soapy water, then boil them in a large pot of water for 10 minutes. Remove them carefully and allow them to dry on a clean towel.
Once the preserves are done, remove them from the heat and let them cool slightly. Using a ladle and canning funnel, carefully fill the sterilized jars, leaving about ¼ inch of space at the top. Wipe the rims of the jars with a clean cloth to ensure a good seal, then place the lids on tightly.
Step 7: Process the Jars
To preserve your peach preserves for long-term storage, process the jars in a water bath. Place the filled jars in a large pot of boiling water, ensuring they are covered by at least 1 inch of water. Boil for 10 minutes to create a vacuum seal.
After boiling, carefully remove the jars and allow them to cool on a towel. As they cool, you’ll hear the lids pop, indicating a successful seal. If any jars don’t seal properly, store them in the refrigerator and consume within a few weeks.
Step 8: Store and Enjoy
Once sealed, your peach preserves can be stored in a cool, dark place for up to a year. After opening, keep the jar in the refrigerator and use it within a few weeks. The sweet, summery flavor of homemade peach preserves makes it perfect for spreading on toast, topping pancakes, or pairing with cheese.
Tips for Perfect Peach Preserves:
Firmness: For chunkier preserves, cook the peaches for a shorter time, so they retain more of their shape.
Spices: For added warmth, consider adding a pinch of cinnamon or nutmeg to the preserves during cooking.
This simple and delicious recipe for homemade peach preserves will allow you to enjoy the taste of fresh peaches all year round!
Thanks for visiting Fruits Recipes
Image | Title | Ratings | Link |
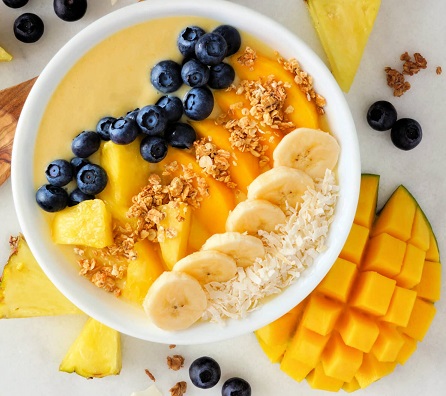 | Mango Smoothie Bowl | 5/5 | |
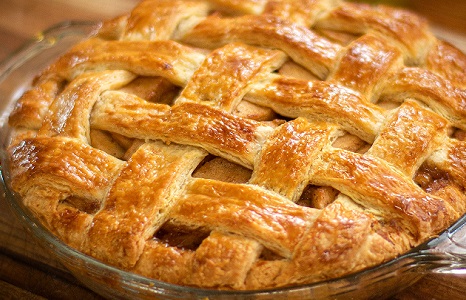 | Apple Pie | 5/5 | |
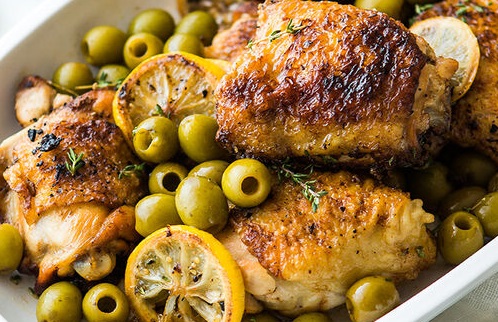 | Chicken with Lemon and Olives | 5/5 | |
 | Strawberry Banana Smoothie | 5/5 |

